- Â
å Monday, March 6th, 2017
B Strange Looking Glass Rendering?
Does your rendering look like this:

This is happening because there are two surfaces occupying the same space. One that is using a glass material, the other is using the dark liquid material. The software tries to display both of them, but an interference pattern results. You will need to select the object with the glass material and turn it off. you can do this in Rhino, but if you are already in Keyshot, you can do it there as well. There are two ways to do this:
This page shows how to use the scene tree to select an object and turn it off
https://www.keyshot.com/manual/keyshot6/?section=scene-tree
But you can also delete it. From the scene tree, select the object you want to delete and then right click and select delete from the list of options (shown here):
https://www.keyshot.com/manual/keyshot6/?section=duplicating-models
In Rhino, you can also run the command SelDupAll (Edit>Select>Duplicate Objects) to find any duplicates that might be in your model.
This link provides an illustrated explanation. It’s geared towards SolidWorks users, but the concept is the same.
B Unroll Surface Video Demonstration
This video provides an in depth review of the “Unroll” command
You can download the model used in this video here:
https://3d2017.christopherspecce.com/wp-content/uploads/2017/03/UnrollVideoDemoModel.zip
B Video Review of Make2D
If you’re looking for a review of the Make2D command that was covered in class, here’s a video that provides a quick refresher. FYI – this video isn’t mine – it’s from Polyplane.com
í Assignment 3
due March 13
Part 1. Chair Study Drawing
Working from the models of the bentwood chairs that were built in the previous assignment, create a drawing. As has been stated in the project brief, this drawing must show at least one of the chairs in use, with the linework for the chair executed on the Klic-N-Kut Plotter. The aspects of the drawing that show use should be executed by hand. Your drawing must make use of the “make2d” command, and the chair or chairs must be a “primary” subject matter, but there is a plenty of freedom to approach this assignment in a variety of ways so each student can create a work that has relevance and value to their personal interests.
As we’ve discussed, the plotter can accept a variety of media and drawing tools, but paper that is too thick (heavy watercolor paper) or too thin (fine tracing paper) may be more difficult to work with as may also be the case with drawing tools that are especially sharp or wet. The drawing should be composed and laid out within Rhino, with all of the linework that will be plotted included. Keep in mind that the plotter can only process “vector” curves – pixel or raster images can not be processed by the plotter. Be sure to refer to the separate post with instructions for how to use the plotter.
Part 2. Paper Model Round 1
Working from the Paper Model project Brief:
- build a model of your object in Rhino
- translate this model into developable surfaces
- unroll the surfaces into a pattern that can be cut
- revise and modify as necessary (add tabs, etc)
- cut out this pattern in paper with the digital die cutter or the laser cutter
- assemble and finish
In the class google drive folder, put the following content into a google doc:
- rendering or screenshot of your rhino model
- screenshot in orthographic view of your cut pattern
- photo of your assembled model
name this file: FirstName_Lastname_PaperModel. Make sure this file is in the shared paper model folder as well as your personal folder.
Part 3. Install Windows
Make sure Windows is installed and working on your computer. Please get in touch if you are having problems or have questions about this
Part 4. Install MasterCAM Home Learning Edition
We will update this post with instructions for how to access and download this software, but this software is only available for Windows.
Part 5. More Revisions
You are welcome and encouraged to continue / begin revising your work for the previous assignments. This means improving the design and rendering of your glasses based on the feedback from the comments and the improving the model and renderings of the chairs. You are also encouraged to continue the discussion in the comments of the glasses assignments.
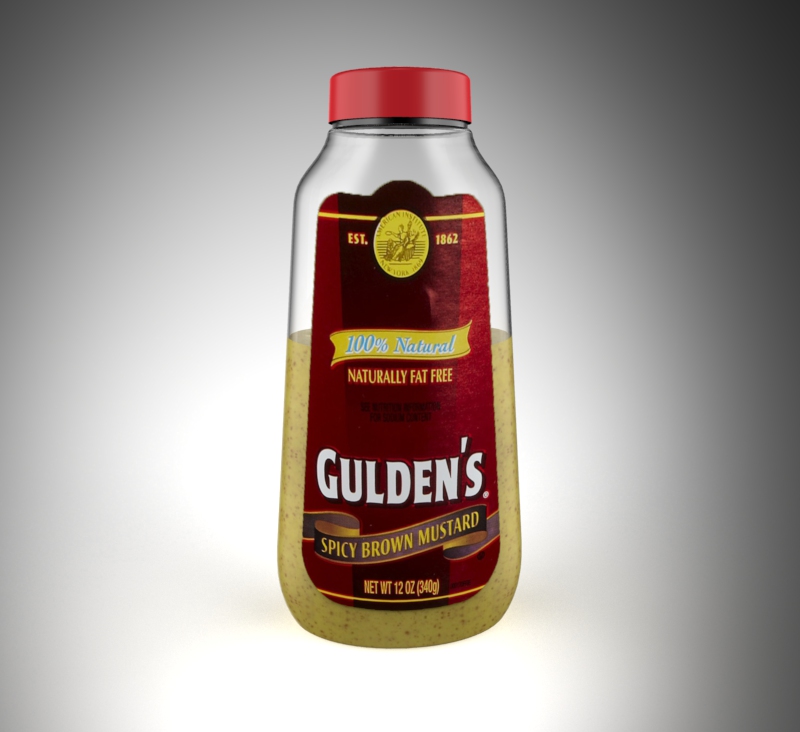
í Week 3 Exercise: Mustard Bottle Tutorial
Download the PDF file below which will cover the steps to build the mustard bottle shown below. If you get done with this early, see if you can use the images below to use as textures to create a realistic rendering of this object.
https://3d2017.christopherspecce.com/wp-content/uploads/2017/03/MustardBottleTutorial.pdf


í Week 3 Challenge 1: Pencil
Build a model of a sharpened wood “golf” pencil. Sample pencils will be distributed for inspection and measurement. First and foremost this exercise is about form, but proportions and dimensions are important too. Don’t worry about materials you can build this as if it was all one single material / piece.

-
Classroom
-
