- Â
fChris has 79 post(s)
Y The infamous brush
Since many of you enjoyed reading my note to James about the brush I damaged, here’s what the rest of it looked like:
Y Finish?
Hillary Asked:
“Do we have to apply finish to our plywood cnc objects?”
You are not required to apply finish to your objects, but we would like to consider these as “finished” works, since there were several rounds of studies, models, mock-ups, etc. We expect that they are finessed beyond what came directly off the machine – this might require sanding some edges smooth, taking the surfaces to a higher grit, etc. Rubbing on a coat or two of wax might be enough to to take them to the next level. We will evaluate them for their integrity as objects, but it is not necessary that they have elaborate finish work (although we welcome it if you are interested).
( Watch Videos Faster (or slower)
The recent videos I posted are not sped up like some of the others I have posted are. You can get a browser extension that will let you speed up (or slow down) the videos as you like.
Chrome:
Playback speed for embedded vimeo
Playback Rate
FireFox:
Faster Video
I’m sure there are similar options for Safari, but I can’t seem to find a free one.
( Default Settings in MasterCAM (updated)
This video shows how to configure default settings in MasterCAM. This makes it so you don’t need to choose settings each time you work on a new project.
Here are the recommended settings for the toolpaths we have covered so far. Keep in mind that some of the settings will need to change depending on the needs of the project, the material you are cutting and the tool being used.
Y CNC Schedule
I’m sharing the link to the CNC schedule here. You need to be logged into your RISD email to edit this document.
https://docs.google.com/spreadsheets/d/1ZIOgMEc8BHpPPQEzs9w3lbSpXUyoJ97N0ww_eUgY_1E/edit#gid=0


Y Double Clicking a MasterCAM file won’t open it
I just wanted to make everyone aware that if you double click on a MasterCAM file (on your desktop or in a folder), it will open MasterCAM, but it will not open the file you double clicked on. You need to open the file from within MasterCAM.
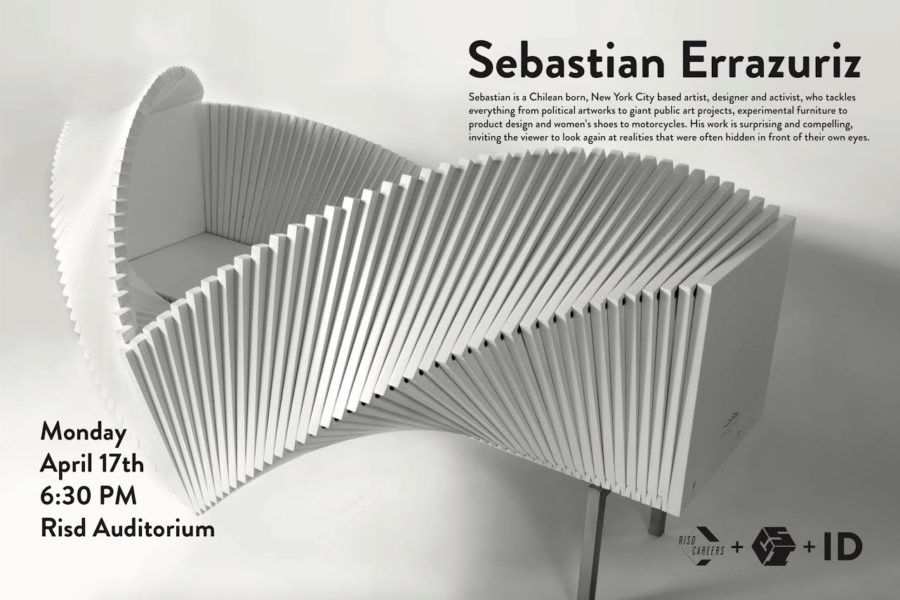
Y Sebastian Errazuriz Lecture tonight (4/17)
Sebastian Errazuriz lecture tonight at 6:30 in the RISD auditorium.


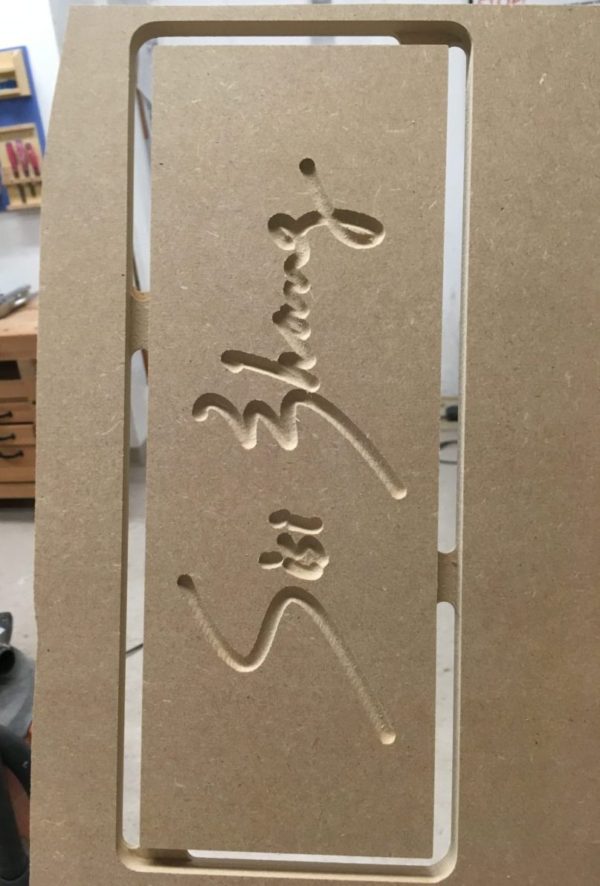
Y Name Plates
We cut the name plates on Wednesday and they are in the woodshop, under the monitor’s bench (by the chalkboard). Please claim your’s.

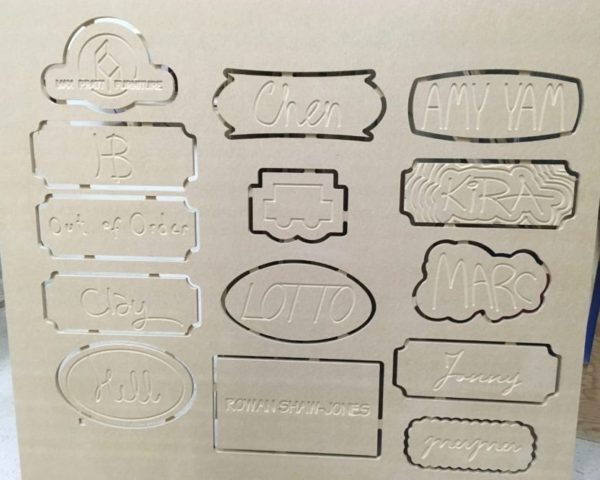
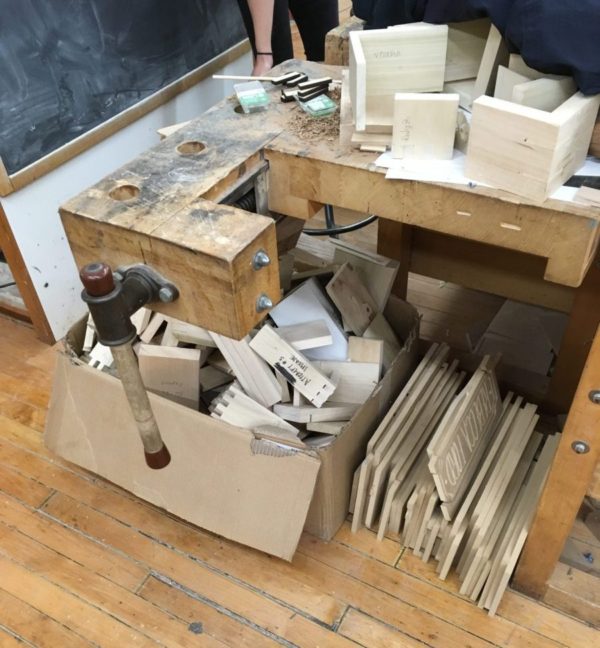
You’ll see that they still have the tabs connecting them to a larger piece of MDF. you can cut them free on the bandsaw and then sand the edges to be smooth.

Y Chair Drawings
We intended to collect the chair drawings for grading but most of them did not have names on them. Everyone should write their names on their drawings (front or back) and leave them in a place on your desk that will be obvious for us to find.
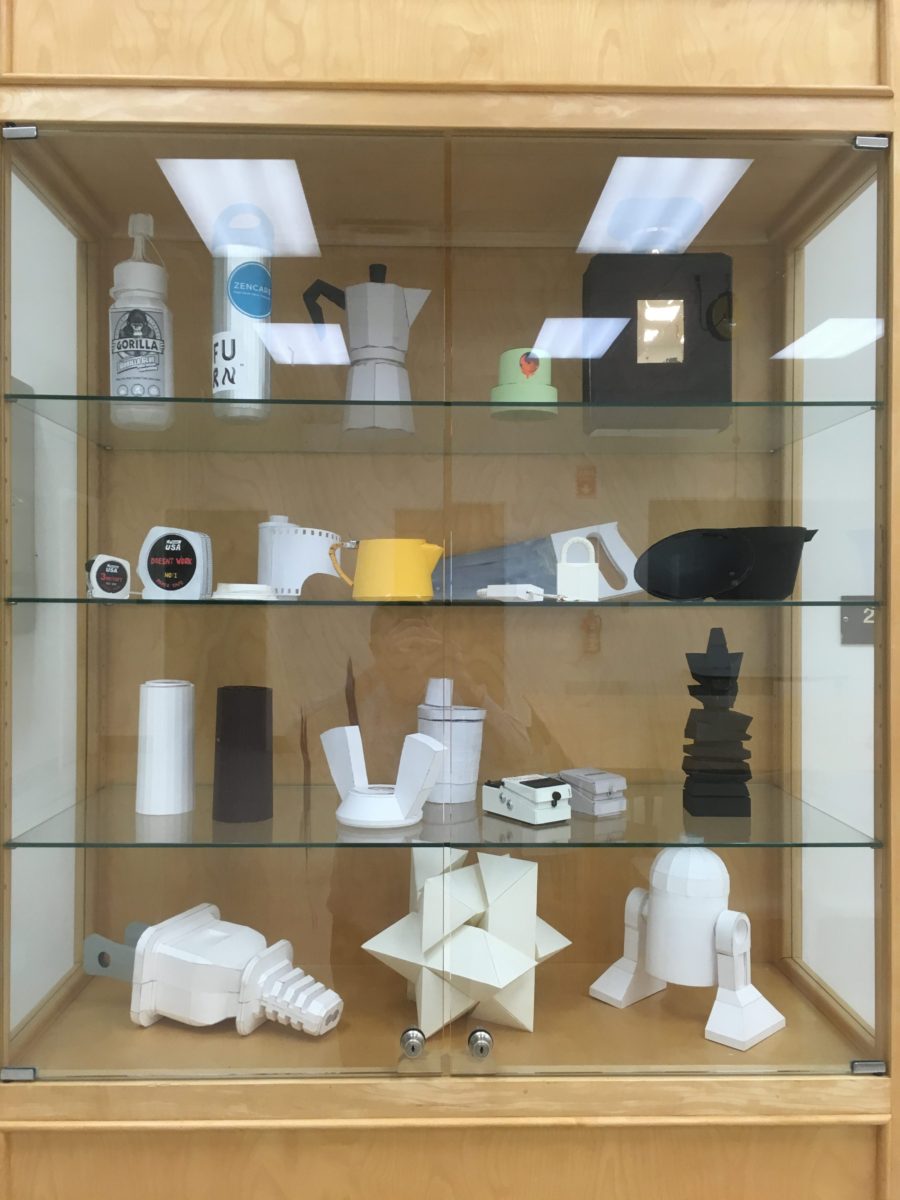
Y Great Job on the Paper Models!!
I put a bunch in the case. If for some reason you need it, get in touch or ask Marilyn to let you into the case.

Y Question about the final paper model
In an email Laura asked:
“…are these models supposed to be colored or should we bring them in as plain white paper models? If they are supposed to be colored, how realistic do the ‘textures’ have to be?”
The project brief states:
“materiality of the object must somehow be represented in the paper model”
We do not expect texture maps to applied to the patterns in Rhino, as we did with the wood and chair cane on the chair study project. Very simply, these textures can be drawn or painted onto the assembled model – we would be very excited to see this mix of computer generated patterns with a more hand-worked representation of surface, color, materials, etc. Note that we use the word “somehow” in the project brief. This is an effort to allow for plenty of flexibility, abstraction, and simplification in how this aspect of the project is treated. This can be very simple, basic, and/or subtle and does not necessarily need to be very realistic. For example, if your object was chrome, you could simply use gray or light blue paper to hint at this.
But I would say that if you are struggling, we would prefer that students prioritize form, proportion, scale and craft if sacrifices need to be made on the materiality aspect of the assignment. In other words, don’t ruin a nicely done model if you run out of time.
Y KNK Maxx Air for Cutting – Still working on it…
I have been working on getting the KNK Maxx Air plotter to work properly as a cutting machine for the past few days and I am hopeful that I will have it running on/by Friday evening… Most likely I will set up some time this weekend for a demo if anyone is interested and I will post instructions in PDF format. Sorry for the delay.
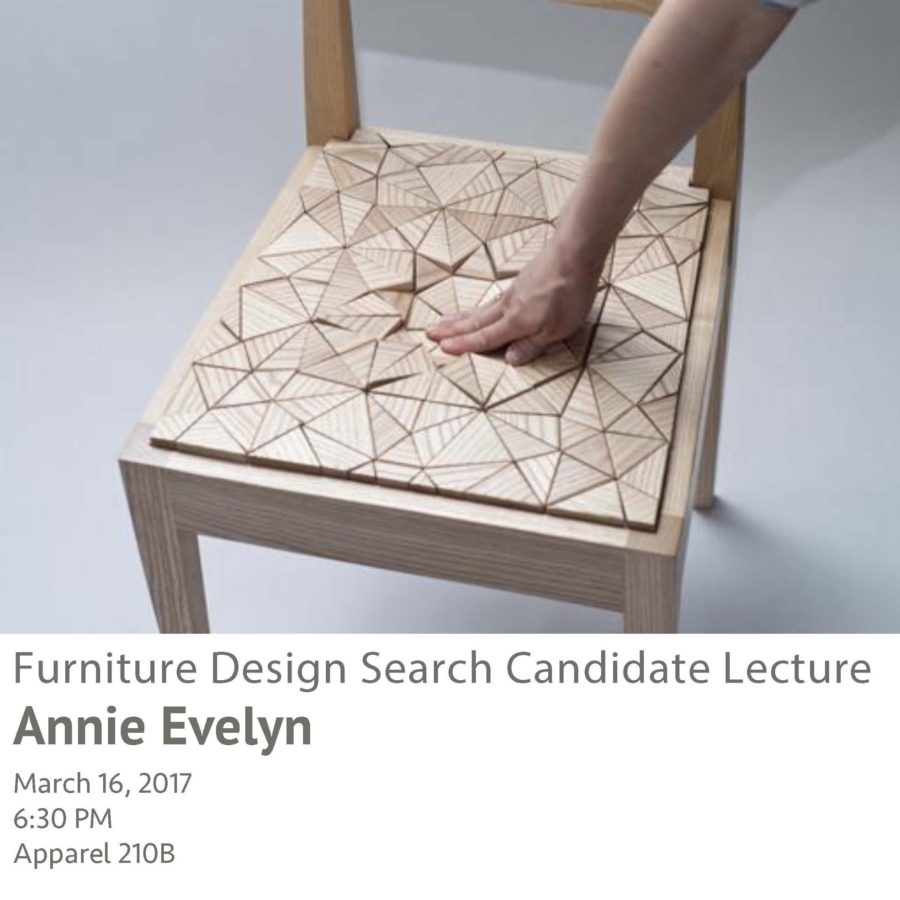
Y Annie Evelyn Lecture Thursday Night (3/15)
As we discussed, we will be grateful if you attend this lecture on Thursday in the Apparel Design Building, room 210B. You can see more of Annie’s work here:
http://annieevelyn.com/
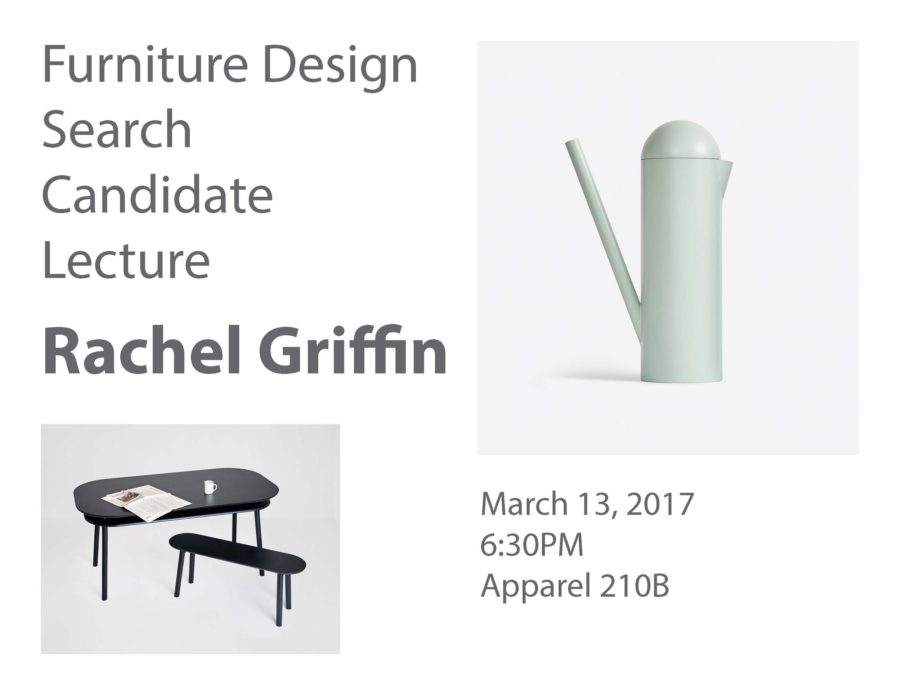
Y Rachel Griffin Lecture Monday night (3/13)
As we discussed, we will be grateful if you attend this lecture tonight. You can see more of Rachel’s work here:
http://www.earnestly.org/


( Use the Middle Mouse Button for Increased Productivity!!!!!
In both the Windows and Mac versions of Rhino you can customize the pop-up menu that appears when you click on the middle mouse button. You’ll see me do this often when I’m working in Rhino – it’s a huge productivity booster.
To customize in Windows:
Click the middle mouse button
click on the small gray bar at the top of the menu – this will “dock” the menu
remove items from the menu by holding shift as you drag them off the menu and into the workspace
add items by holding CTRL as you drag from an existing toolbar into the menu
To customize on the Mac:
http://discourse.mcneel.com/t/cant-customize-middle-mouse-button-popup-toolbar/4044
Y Great Opportunity for Sophomores – Deadline Extended til 3/7!
The deadline for this opportunity has been extended until Tuesday March 7.
There is a great fellowship opportunity available to sophomores and juniors, offered by Be Original (an organization that promotes authentic, as opposed to “knock-off” furniture and lighting design). From the website:
“Be Original Americas’ 7-week Summer Design Fellowship program will introduce two college students to all facets of creating innovative, high-quality products, from research, design, and manufacturing to marketing and distribution through hands-on, in-the-field learning.”
The deadline is February 28 – next Tuesday, but all you need to apply is:
- Resume or CV that emphasizes relevant experience and achievements
- Letter of Recommendation from a college professor
- Short Essay (500-700 words). Please answer all of the below questions in one MLA-formatted document
- What does original design mean to you?
- What is your favorite design and why?
- What do you see as the future of original design?
Each section of the fellowship will focus on a different aspect of the process from the perspective of Be Original Americas member companies, supplemented by visits to their showrooms, headquarters, and factories in New York City and throughout the United States. The Be Original Americas Fellowship will provide a uniquely diverse and comprehensive exposure to the top players in the industry, offering exposure to both iconic firms with global heritage and game-changing new brands. Throughout the program, discussion will focus on how each area of concentration contributes to the integrity and originality of designs that are intended to improve quality of life and foster creativity.
Be Original Americas will provide travel and lodging accommodations as this program will require travel to New York City and member company sites throughout the United States. Participants can expect to incur some costs for food and incidentals. A $3,500 grant will be awarded to each student at the successful conclusion of the program.
Applicants must be in good standing at their university (3.0 GPA or higher) and be eligible to work in the United States. Applicants must be United States citizens or legal resident aliens who reside in the United States, at least 18 years of age or older, and have a valid passport.
More info and application here:
http://www.beoriginalamericas.com/fellowship/
I’m happy to offer any help or advice to anyone wishing to apply.
( Commenting in Google Docs
Part of the homework is to comment on someone else’s project. There are several ways to do this, but all start with opening the google doc you want to comment on (duh):
- select the text you wish to comment on
- go to Insert>Comment (you can also use the shortcut command+alt+M on mac and ctrl+alt+M on mac)
- type your comment into the field that appears
- click on the comment button
or
- float the cursor along the right edge of the page near the section you want to comment on until an icon of a talk bubble with a document in it
- click on this button
- type your comment into the field that appears
- click on the comment button
As reminder, you are supposed to comment on the person whose last name is after your’s alphabetically. The last person in the order should comment on the first person. Here is a list of the class’s last name:
- Bartlett
- Brame
- Buttaci – Rincon
- Cassell
- Caycedo
- Cha
- Chen
- Cottingham
- Dekhayser
- Ford
- Gong
- Gupta
- Jaramillo
- Librizzi
- Mandel
- May
- McAllister
- Miller
- Ng
- Pratt
- Ralls
- Reina
- Shaw-Jones
- Suryanarayanan
- Walworth
- Wang
- Wei
- Zhang
- Zhu


Y If you haven’t completed the Hardware survey, please do so
Here’s a link to the survey. This information will be helpful for us as we start working with Windows in the next few weeks.
Y Questions about Control Points and Clarifying the Assignment’s Single Revolve Constraint
In an email, Laura asked:
“…in the process of revolving my curves about a million Control points were added to the original revolve curves for no apparent reason….I’ve been trying the fix the problem for ages now but nothing’s working. “
Most likely the “new” points appeared after joining separate curves together into a “polycurve”. It is necessary for Rhino to add control points in many situations when curves are joined We will talk about why soon). If these polycurves are exploded, you will find that the individual curves should return the original control point count. Also, when curves are offset, the offset curve will be more complex (have more points) in order to satisfy the conditions of the offset (dimension, tolerance). That is why the assignment requires that the curves be exploded before taking the screen shot. It’s OK if offset curves are complex, we can decipher what has happened in that situation.
“…by one revolve do you mean one revolve axis or one revolve curve?”
When we say a “single revolve” it just means that one can only use a “full circle” (360 degree) revolve to build each glass. The curve used to revolve the glasses can be a single, simple curve, but most likely it will need to comprised of several curves joined into a polycurve, as is demonstrated in the video. It is permissible to have two totally separate curves, if the intention was to make a bubble within the base of the glass, for example. But this curve would need to use the same axis as the other curves. In that case, both sets of curves could still be formed at once. If the design somehow incorporated two revolves, using different axis, then that would go against the constraints for this project.
Y Keyshot in the Computer Lab
I just did some work in the computer lab to make sure Keyshot is installed on the iMacs in the computer lab. It is on both the windows and mac installs for these machines. Rhino is also installed on both OS’s.
If you find one of these computers running windows and you want to use the Mac OS, you can restart the computer, hold the “alt” key as the screen goes black, then select “MacHD” from the options of two drives to boot from. The reverse situation works to (from Windows to Mac).
Y Trouble Downloading Windows
Sruti sent an email saying that she was having trouble getting windows from RISD On The Hub. We are aware of this problem and I am going to check in with OIT about this. You don’t need to have Windows for next week, so don’t worry about this until we get this resolved.
Y Rhino is in stock at the RISD store
I got a message from the RISD store that Rhino is back in stock. This is the place to get Rhino – It’s much cheaper here than anywhere else. They have limited copies for now, and other students will be shopping for this as well. More copies are on the way though.
Y Website isn’t working? try replacing “https” with “http” in the url. sorry :(
We are working on fixing this issue. Hope to iron things out shortly.
( Apple Magic Mouse + Rhino
If you have the Apple Magic Mouse and are using it with Rhino, you might find there are some things about it that are not ideal. There are a couple of tricks that might improve the behavior the mouse that you can try setting up.
If the virtual “scroll” is too fast, go to Rhino > Preferences > View > Zoom, and change to Scale factor value to a value closer to 1 to slow down the zooming speed.
You can also try the third party mouse control application called Magic Prefs that allows you to make more detailed adjustments to the mouse settings than the System Preferences panel allows.
( Where to get Rhino and Keyshot
Rhino will be available from the RISD store on Thursday (they’re sold out but a new shipment is on the way). It’s in one of the locked cases in the back, so you will need to ask for it. But be sure to get the right OS. With a student ID, it should be $80. Regular student licenses are more expensive ($195), so don’t get it anywhere else but from the RISD store.
Here’s a link to where you can purchase the educational license of Keyshot:
https://buy.keyshot.com/products/keyshot-hd-animation-education-version
You will need to supply proof of educational status, and they approve the purchase during business hours (M-F, 9am -6pm PST) so you’ll need to keep that in mind.
On Windows you can get a plugin for Rhino that lets you work between Keyshot and Rhino a little bit more easily. Get it here:
https://www.keyshot.com/downloads/plugins/
In the meantime, you can use the trial version:
https://www.keyshot.com/try/
Y More about Rhino Licensing
If you are wondering: “Can I keep my Rhino license and move it to a new computer when I get one? Or will I have to buy a completely new license?”
This is a great question. You own the Rhino license and it does not expire and is not tied to a single installation or machine. The terms of licensing agreement are the same for Windows or Mac in this regard. So, the answer to this question is:
If you get a new computer, you will certainly be able to install Rhino on it. You will not need to buy a new license when you switch. Furthermore, you will be able to keep the license on your old computer, or if you get a second computer, you can install it on the two computers you own.
Remember that the license is per OS though. You need a separate license for Mac and Windows.
Here is the official language from Rhino:
The license agreement allows you to install your Rhino on all of the computers you directly control, provided you can show your Rhino will only be running on one computer at a time. Rhino is licensed on a “simultaneous use” basis and not on a “per installation” basis.
Here is the detail from the EULA:
“Robert McNeel & Associates grants you the non-exclusive license to use the Software on any computers owned by you so long as the number of simultaneous users does not exceed the number of licenses you own.”
-
You can not “loan” your Rhino to a friend or family member.
- Educational Licenses are not transferrable / saleable
Rhino is a really excellent, very valuable piece of software and students will be expected to comply with the licensing agreement of the software and to run legitimate, legally licensed copies of the software. Please understand how much value software provides and the significant discount you have available to you. If you are having a hard time with this, think about how much value you get from software and how much it costs compared to other tools, materials, and supplies you use in your work.
( Making Mac Rhino Look More Like Windows Rhino
Many of the videos we post are recorded on a Windows computer. Some of you might prefer your setup to look more like the Windows version of Rhino. Here’s how Rhino approaches this:
“By default, Rhino for Mac presumes you are not coming from Rhino for Windows. If you would like to see Windows-esque toolbars, navigate to Rhinoceros > Preferences > Themes and select Rhino for Windows. You will need to start a new modeling window for these changes to take effect.”
See more about the interface differences between Mac and Windows here:
Y Welcome
Welcome to the website of Drawing for Furniture: 3D, a class in the Department of Furniture Design at the Rhode Island School of Design.

Leave a Reply
You must be logged in to post a comment.